So, finally I've got a new tutorial for you, although I realized after I was done and going through the pics that some were too blurry and not worth including so hopefully I can explain those steps without the pics. This is my first time doing something like this and having it turn out, and I apologize up front as I kind of fly by the seat of my pants when sewing and such and mostly don't pin or iron like I'm "supposed" to.... so if you like to pin and such you are more than welcome to, hopefully I don't drive you too nuts. So here we go.
I found this womens XL knit shirt at the thrift store and bought it for 2 dollars... I knew I could do something with it for our 4 year old that loves Mickey, she says "he's my favorite guy"
Lay your shirt on a flat surface and match up the bottom hems as best as you can and smooth out the wrinkles in the shirt
match up the sides and top seams
Grab a tank top that fits your girlie and fold it in half and lay it on top of the way too big shirt
Cut out around the shirt leaving a bit extra to allow for seam allowances
This is your new shirt now looking more like a dress....
turn it inside out and smooth and match hems again... and this would be one of those times where if you'd like you can pin the side seams in place ahem
Sew the side seams together with the right sides of the shirt touching
This is the setting on my machine for almost the widest zig zag stitch it will sew.... It's good to use a zig zag on knits so it will stretch a bit if you tug on the fabric, if you use a straight stitch it won't stretch at the seams and may lay funny
Here's where there's a gap.... after the sides are done I decided I wanted to do a ruffle for the bottom hem. I found some light weight cotton fabric and decided how wide I wanted the ruffle and cut the length roughly 2 times the length of the bottom of my dress. Next time I will double the width as well and fold it in half so if you see under the ruffle it will be the same print instead of white underneath... I had to cut 2 pieces for my length, one for the front and one for the back, which was great cause since I don't pin I could just line the side seams up which I will show you later.....
So here's where I hemmed the bottom edge of my "ruffle"... either fold and press and fold again about 1/4 inch to encase all your raw edges, use pinking shears or forgo the hemming by doubling the width and folding in half which is what I will do next time....
I then lined up the other side seam of the ruffle and sewed it and now I have a loop of fabric
At the top edge (not hemmed) sew the widest zig zag that your machine has but do not backstitch at the start and end and make sure you leave your thread tails pretty long.... we're doing a basting stitch to make the ruffle, and I'm sure there are videos and such on youtube or tutorials if you google it if this doesn't make sense... let me know if you need help and I will try to find a good one
once you have run the zig zag around the whole top of the ruffle, find one of the ends to hold on too and gently pull on it to ruffle the fabric. I've found this works best (i.e. doesn't break the thread) if you use decent thread, or do at least 2 rows of zig zag stitch. once you have the ruffle looking very ruffley start eyeballing it against the bottom hem of your shirt...
Once it looks close to the same length as the bottom of your shirt match the side seams up (and pin if you'd like) with the right side of the shirt and ruffle touching.
Space out the ruffles a bit so you don't have "clumps" and so they are spread out across the whole length of the bottom pretty evenly.... you could pin every couple of inches here as well....
since this is the bottom hem and I don't need to worry about the stretch factor I used a straight stitch and sewed right above the zig zag on the ruffle so you wouldn't see it... plus in order for the ruffle to stay you need to use a straight stitch so they don't all move to one spot
and I guess I assumed this but every time (except the gathering/basting stitch) you need to backstitch a couple of times to "lock" your stitches in place at the beginning and end of every "line" of sewing you do so your seams don't unravel... just wanted to clarify...
turned right side out
you could just leave it as is now or turn under and zig zag around the arm holes
but for some reason I felt compelled to add a bit of ruffle to the arm holes as well
I cut out some pieces about 2 or 3 inches longer than the arm holes
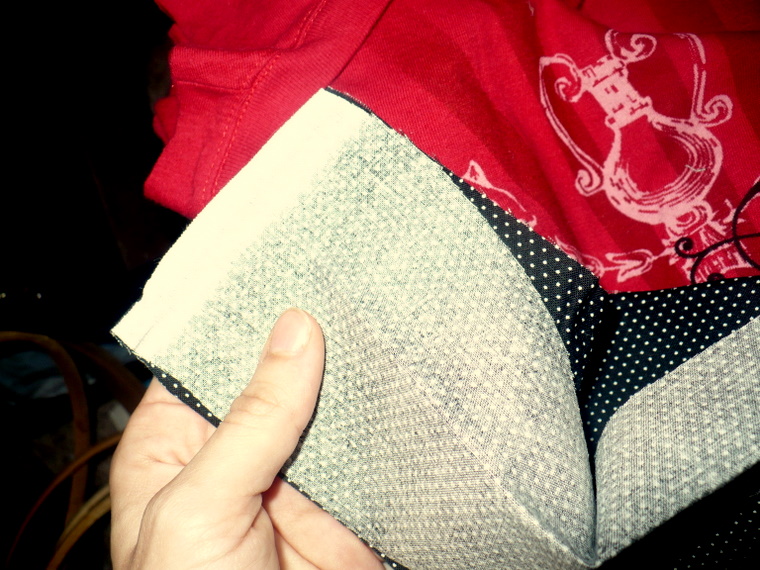
you need 2 pieces... and next time I will double the width and fold again so you only see the cute dots, not the funky underside of the fabric...
This time though I hemmed the edge, although if you do it this way either use pinking shears or press and fold and repeat with 1/4 inch seam to hid the raw edge...
here they are
hem the short ends together
and again I'm missing the step where you baste again... I did the whole unhemmed edge but next time I will just do the top part of the sleeve, then pull one string again to make the ruffle and eyeball it against your armhole in the shirt
match up your center under arm seam... and pin if you'd like with the right sides together
Using a straight stitch sew above your basting stitch again
Turn right side out and show your girlie
She wasn't too enthusiastic about modeling because she was trying to watch Dora, but she was thrilled with it and so excited... she's determined to wear it to school tomorrow as well.
The neckhole was a bit big so I ended up making a pin tuck in the back and sewing a ribbon to tie in a bow in the back... I think I will need to do on in the front as well so it doesn't dip so far down, but I will off center it to her right. Here you can see why next time I will double the width of the ruffles so you don't see that icky white underside at all...
Here it is when I finally managed to get it off of her after she went for a bath...I think I will be making more of these for my other girlies, as it turned out fabulously and it will last for a while because it's knit so it will turn into a shirt when it's too short for a dress. Try it out and leave me a link so I can come see please... and leave me some feedback as to what you think about this tutorial, was it easy to follow and clear enough?
I did get something else to do a tutorial with at the thrift store as well, just have to find the time to do it and take pics...this time it's something for your home, and more of a crafty thing, no sewing involved!